Getting Started with Arduino
Arduino Projects ·Hey Guys! I hope all of you are doing really great! Today we’ll be setting up the environment and we’ll get familiar with the Hardware and Software Interface.
Note: If you are new to IOT and don’t know anything about programming or Hardware, these Blogs are for you as i’ll be starting from very basic and will be explaining everything. So all you need is an urge to learn!
Modules Used:
- A Platform for the software End. Laptop, PC etc.
- Arduino IDE
- Arduino Board (Arduino UNO R3 suggested)
Introduction:
Internet of Things is the combination of Software and Hardware. So before we go ahead, we need to setup the environment and get ready with the Hardware.
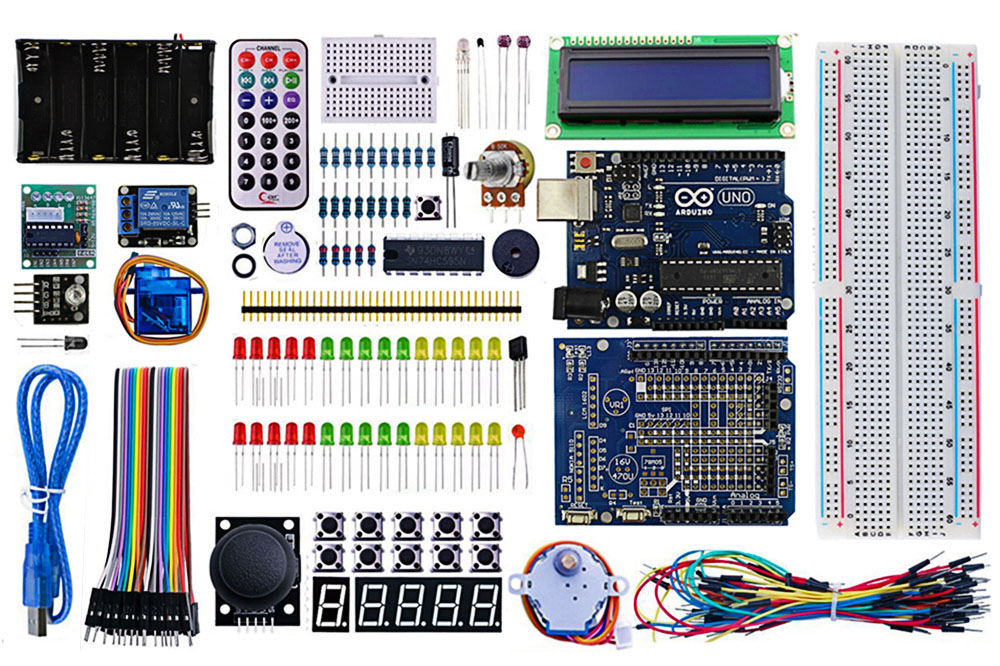
I would suggest you to buy an Arduino Starter kit as we will be using many different Sensors & Actuators and instead of buying everything seperately, such starter Kit comes really handy.
Downloading the Arduino Software:
Downloading and Setting up Arduino IDE is really easy. All you have to do is download the software from the link given below and install it usually like any windows/mac/linux software. Download Arduino IDE
Arduino IDE interface:
Now understanding and getting familiar with the Arduino IDE is really important.
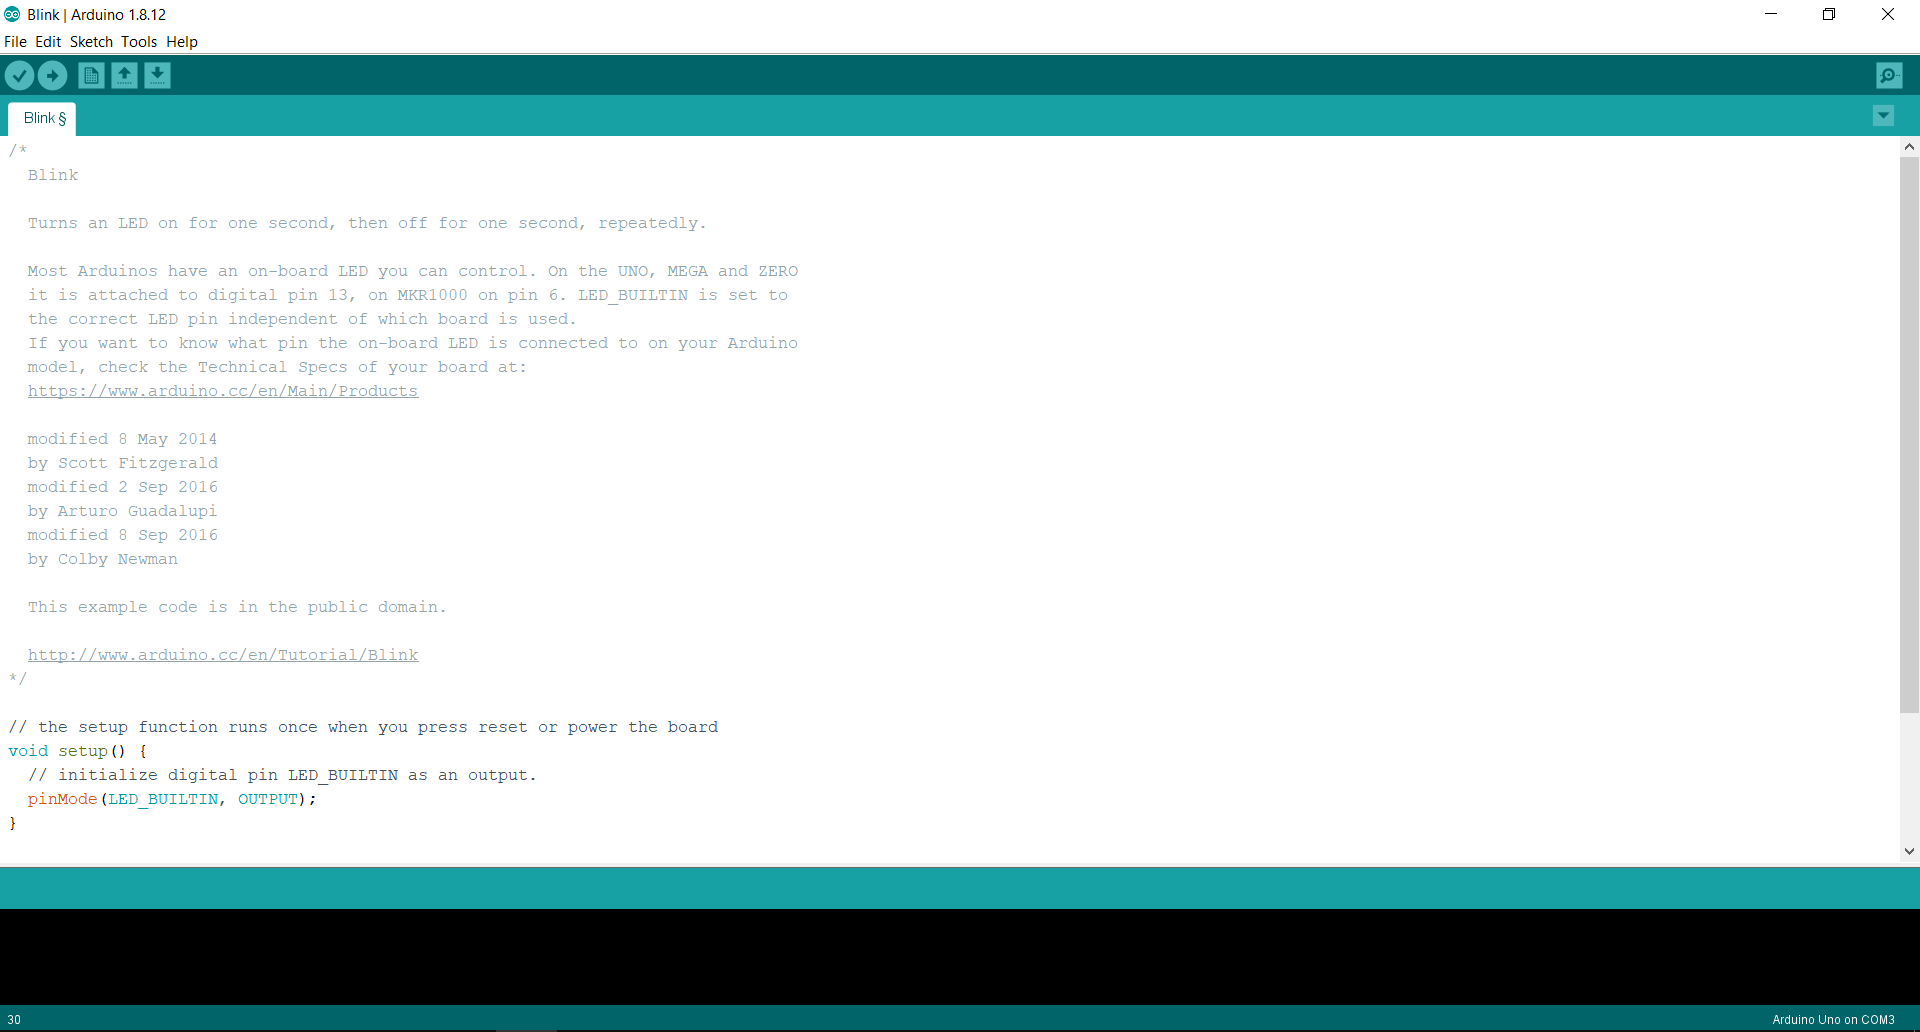
This is the main interface of the Arduino Software. The white portion is the main screen where we write our code (sketch) and the black region at the bottom of the screen is the area where it shows the status of uploaded sketch to the Arduino.
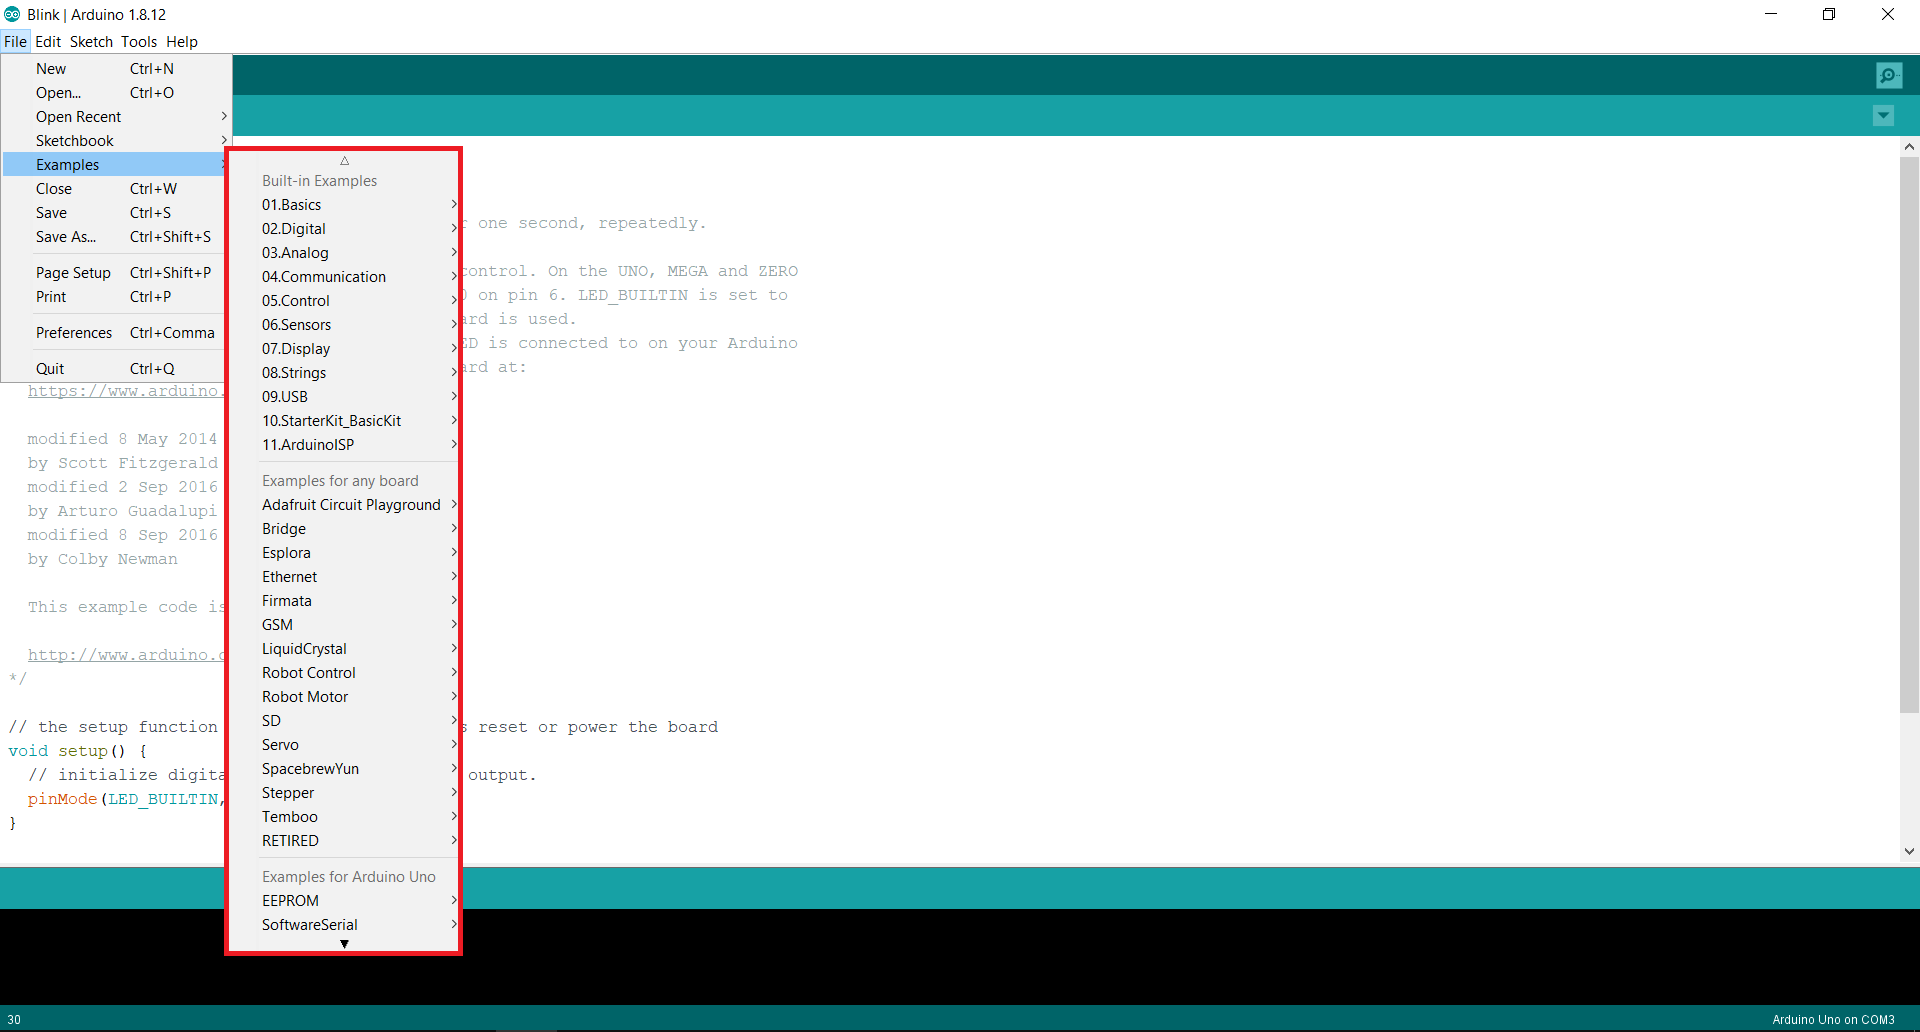
At the top of the screen there are many options. The file option is basically used to Save the current sketch or open any already made sketch. There is also an “examples” option in the file which includes some pre-written sketch which can directly be uploaded to the Arduino.
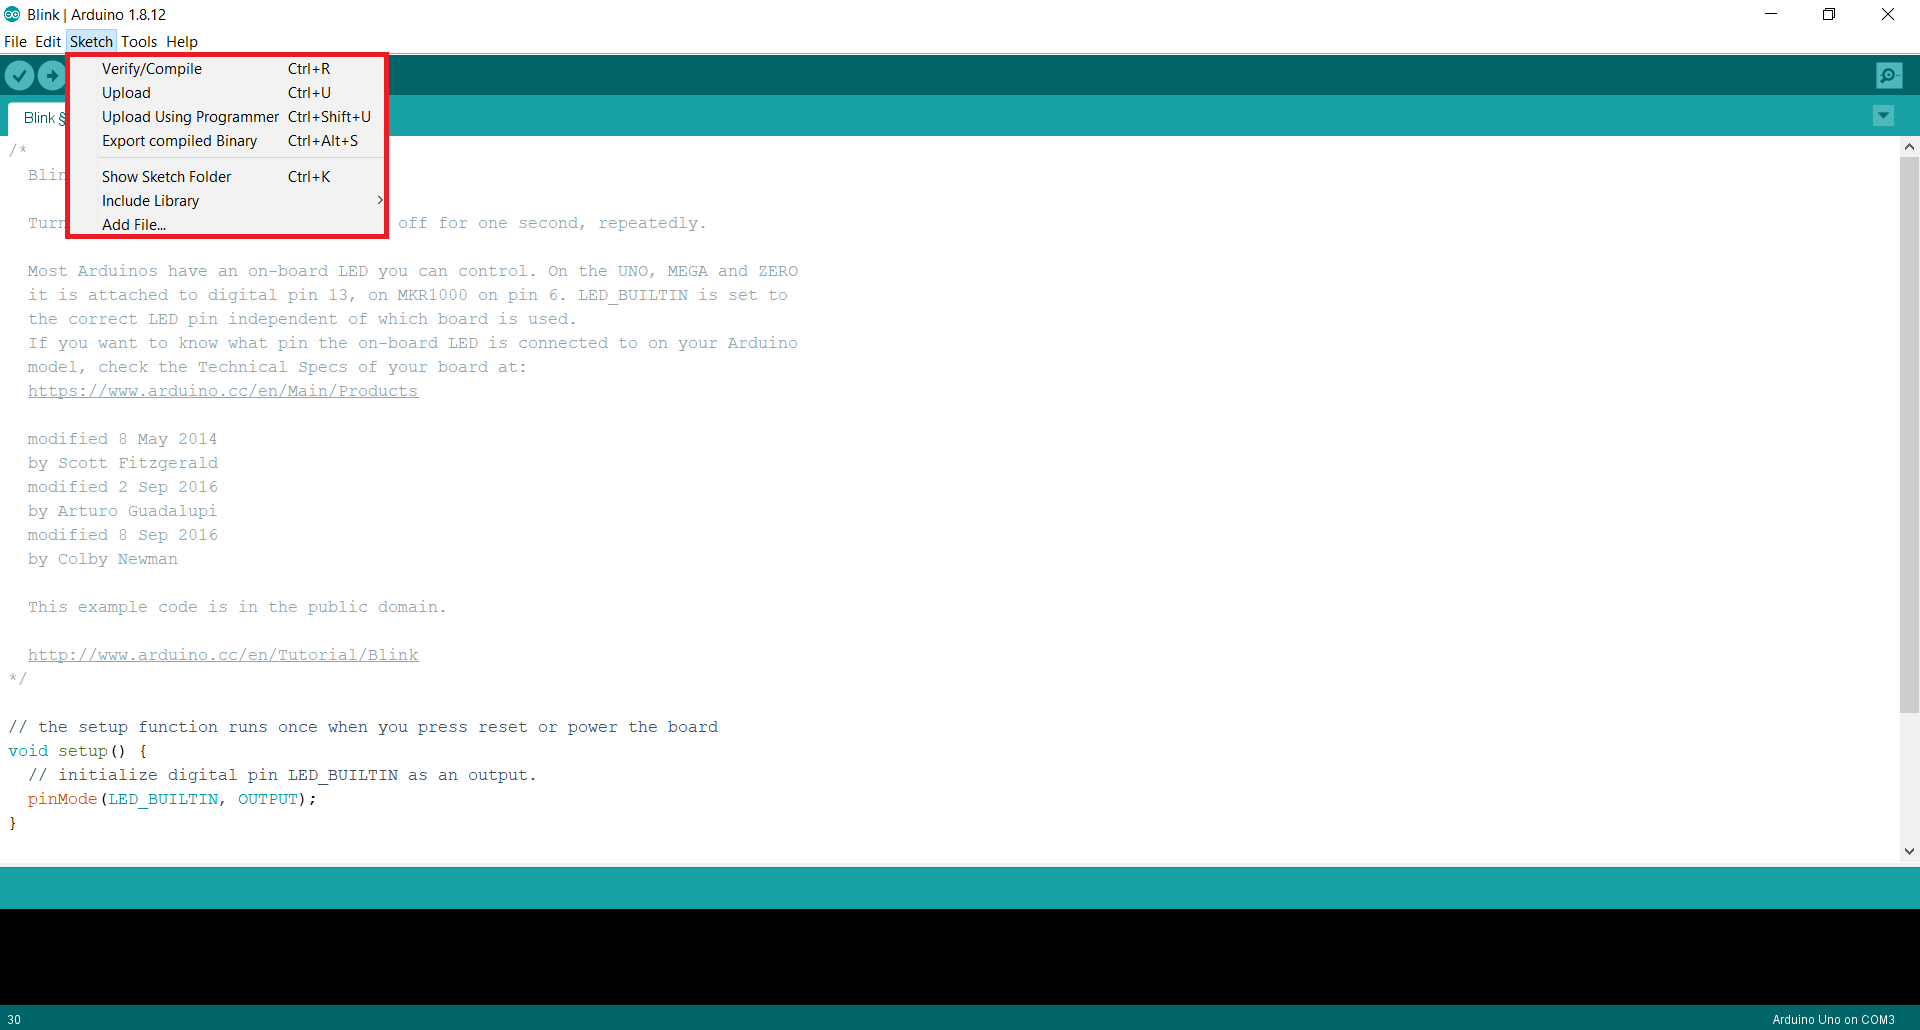
The Sketch option is mainly used to Verify and Upload the sketch to the Arduino. This can also be done using the options given just below the top most bar.
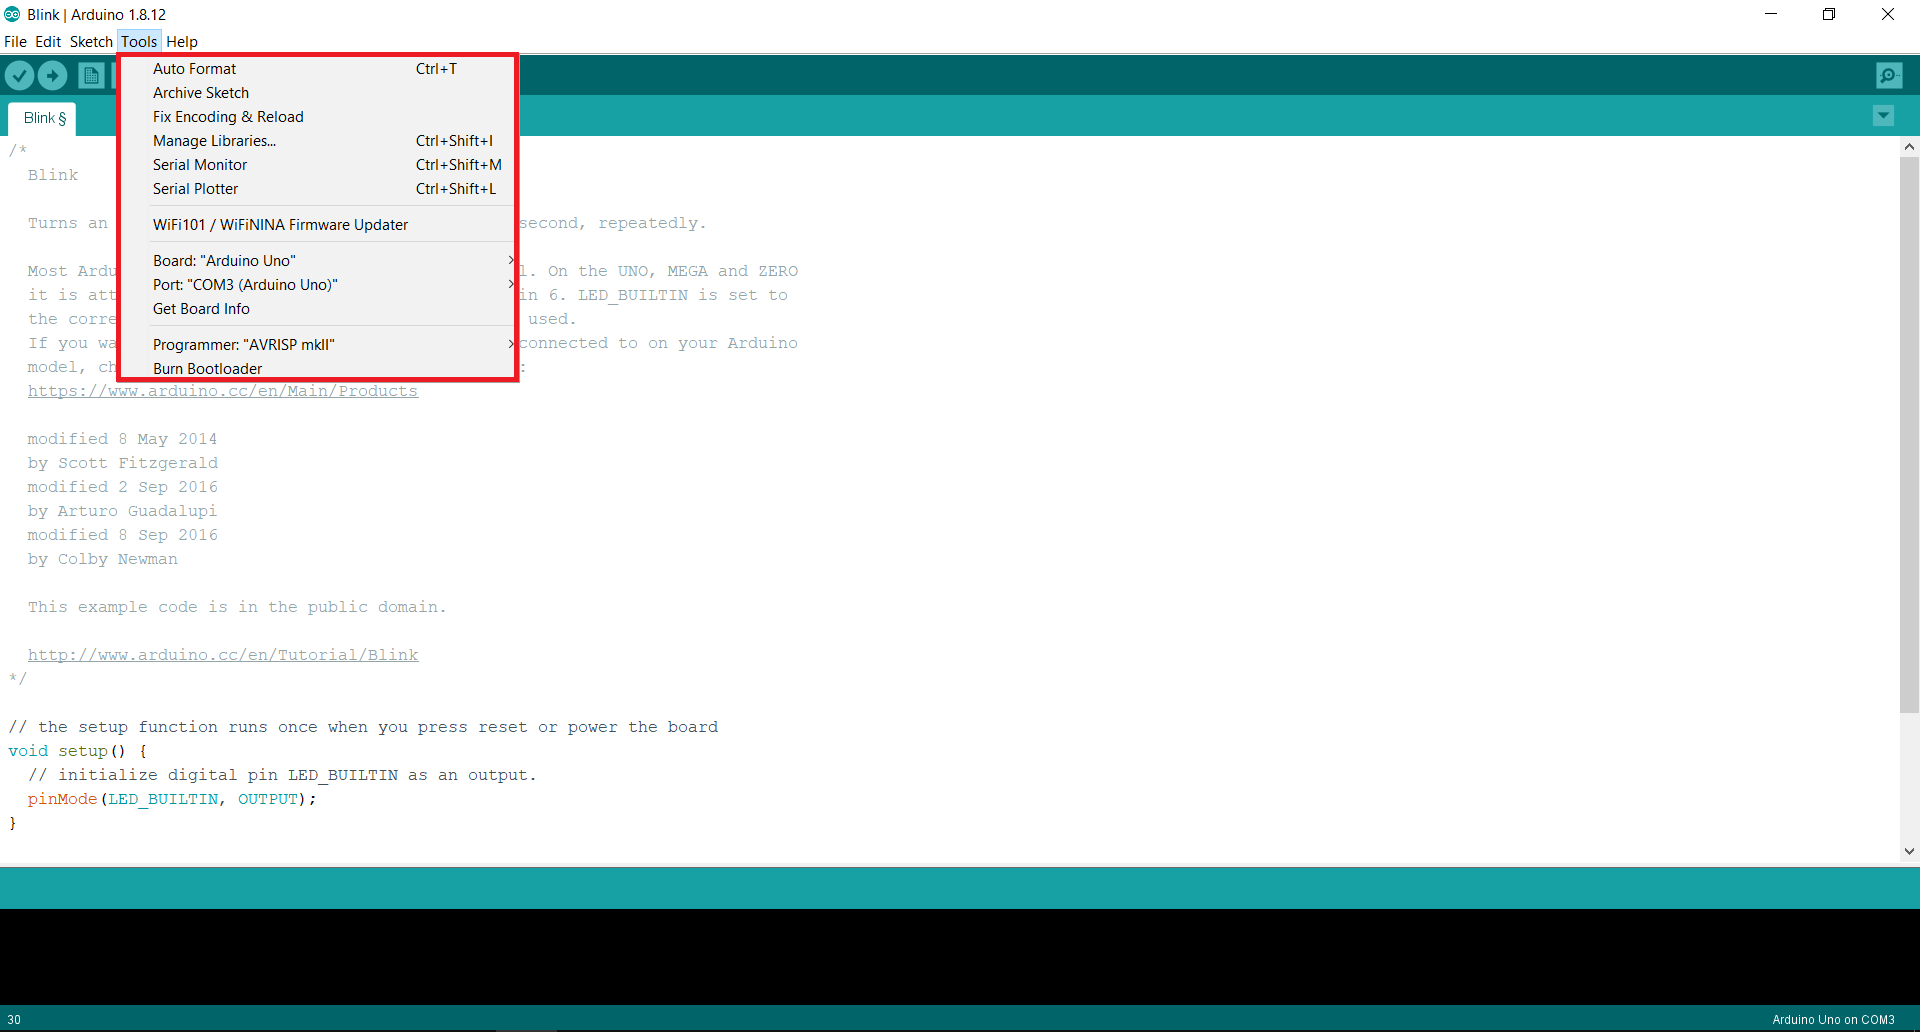
Tools includes some important options. We can update firmware from here and it provides information about the connected board, so once the Arduino is connected to the PC just make sure that the board selected in the tools menu is the one that you’re using and the port should be that specific Serial Port to which your Arduino is connected (settings > device manager) like COM3(Arduino Uno) in my case. If the board selected is different, just select your board from the list.
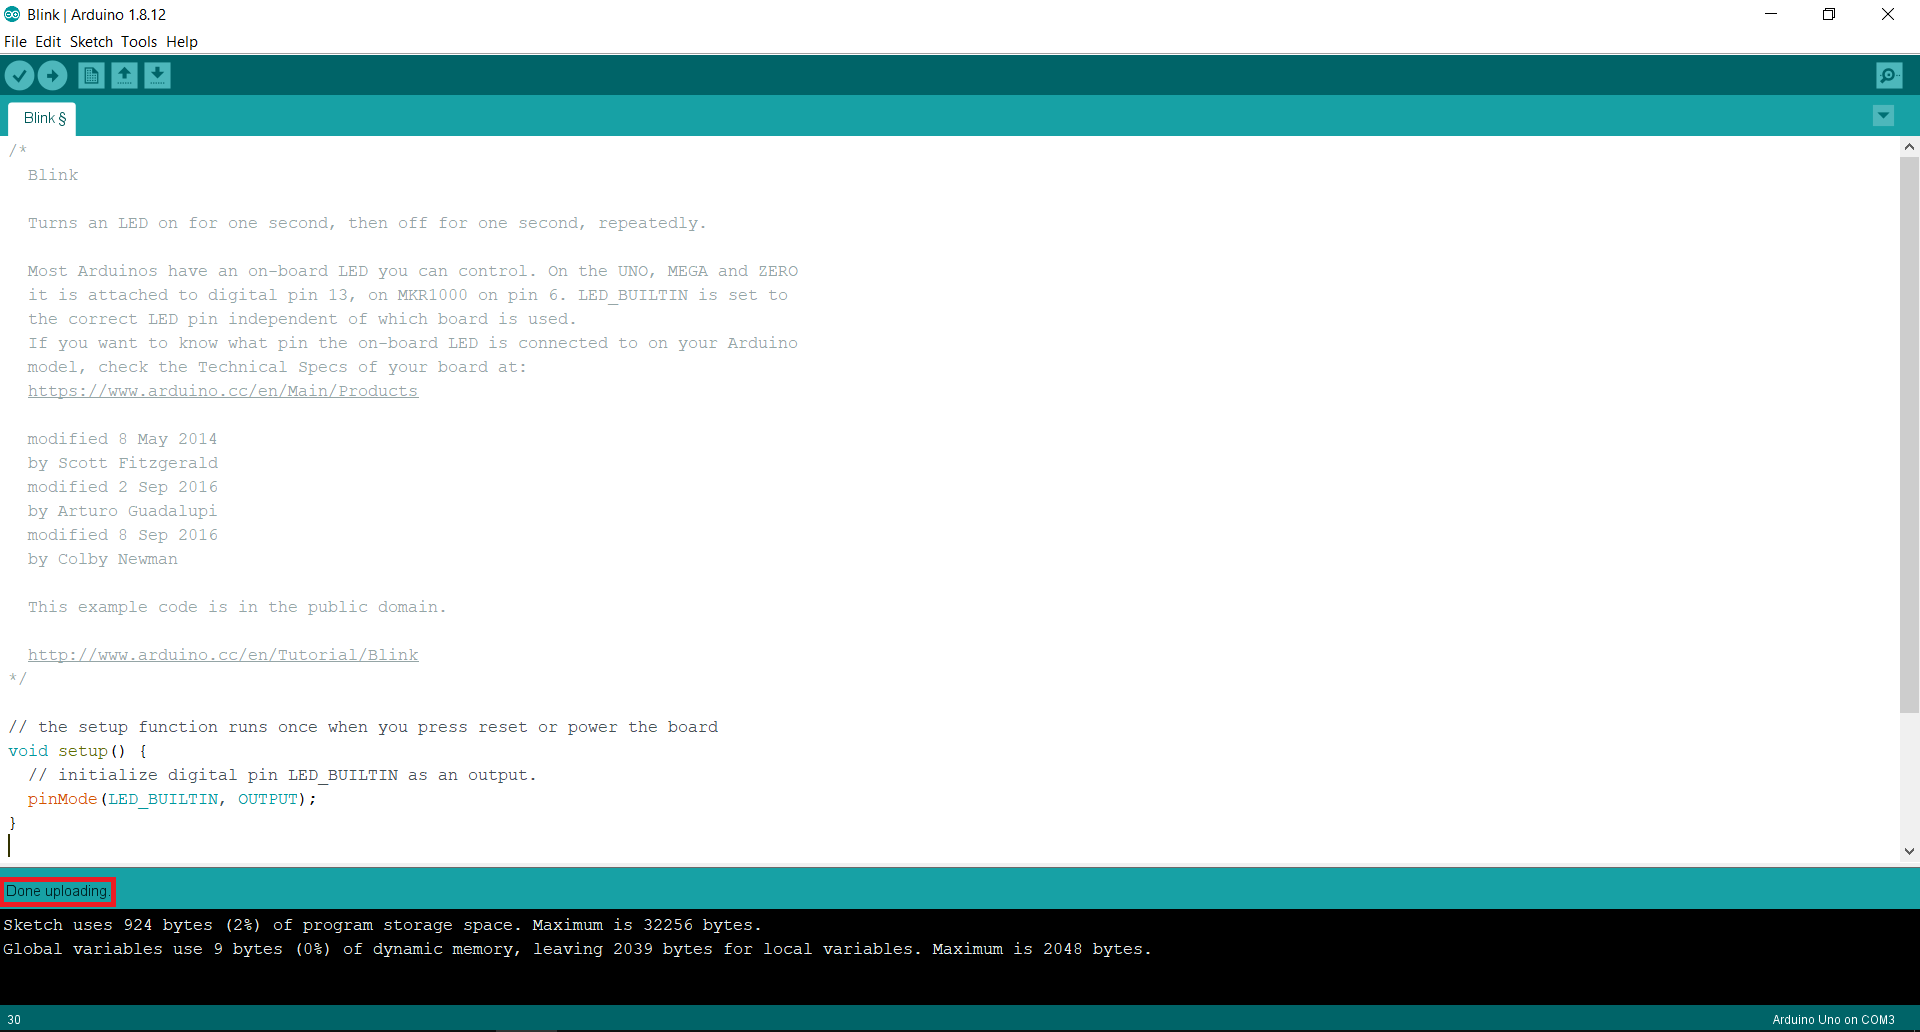
Once we upload the sketch to the board it shows Verifying, Uploading and Done Uploading at the bottom screen which is basically the status.
Hardware Interface:
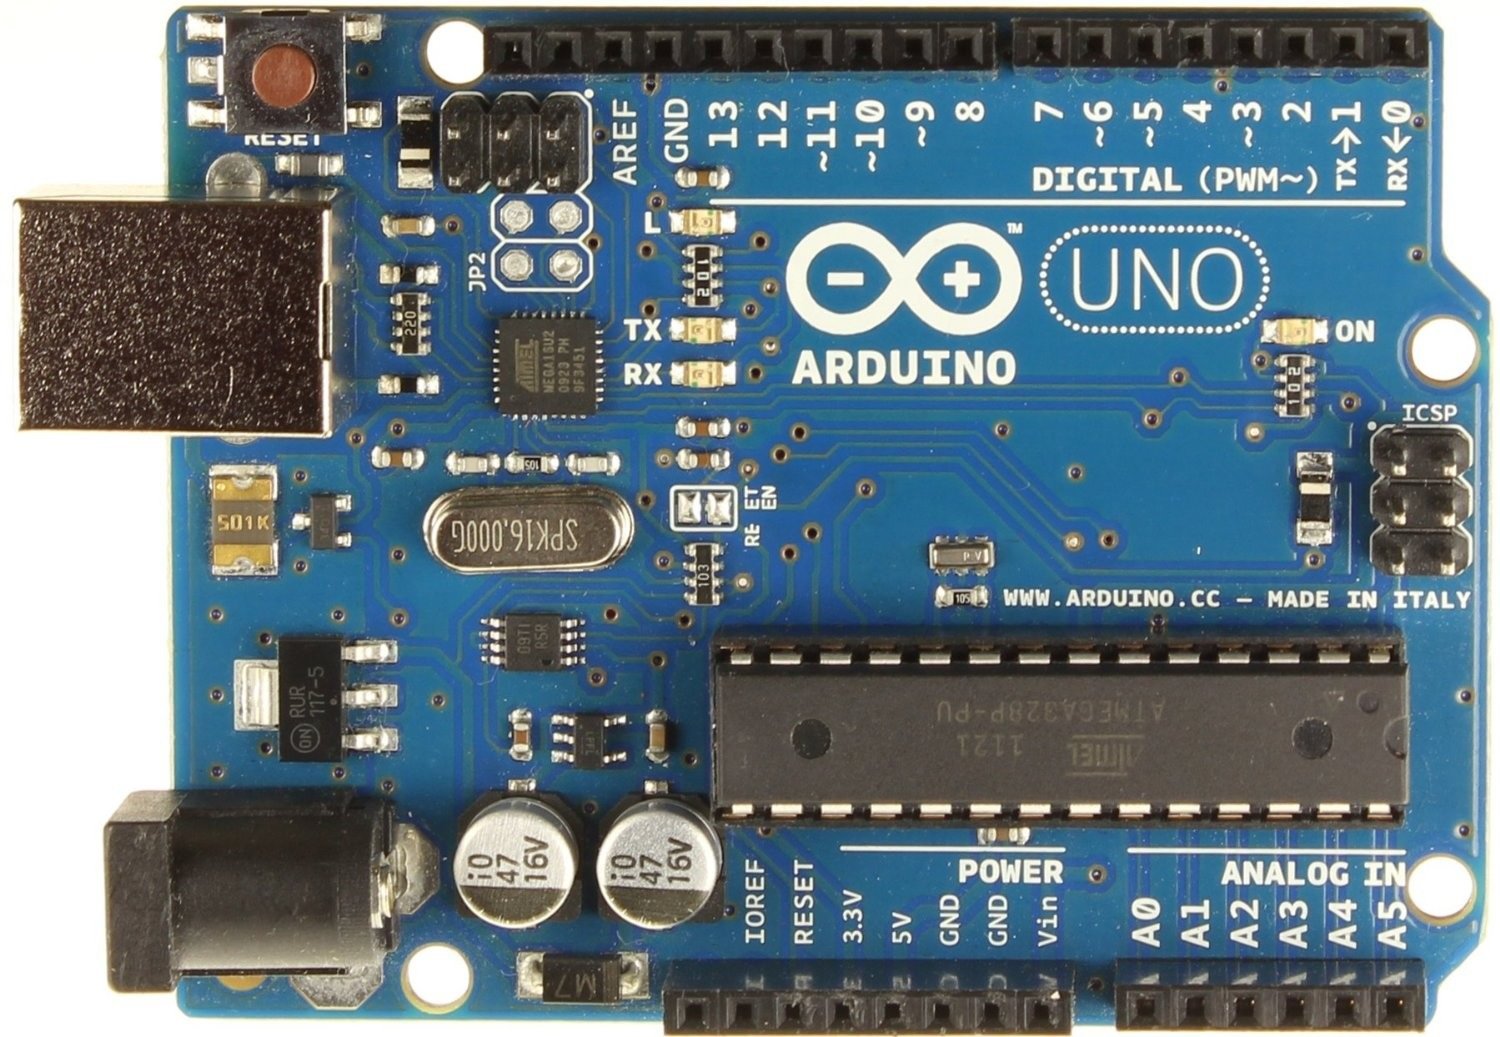
It is really easy to understand the Arduino Board Interface as all ports are labelled with their name or their functions. For ex. Arduino UNO has one dedicated power port but we will be using USB for uploading the sketch and to provide power to the Arduino. Arduino Uno has 14 digital I/O pins (Input-Output Pins) which are used to connect different sensors and actuators. It also has 6 analog inputs and some Power and Ground Pins. Arduino Uno has one built-in LED just by the Pin 13. AVR ATmega328P is the Microcontroller present on the Arduino. We don’t need to understand this but basically the main purpose of a Microcontroller is to execute a code. It reads inputs from one component and controls other components.
Conclusion:
In this blog we learnt how to get started with the Arduino and got familiar with the Interface of the Hardware and Software. We will be performing many projects, So stay tuned!